Using Terraform with AWS

This tutorial shows how to install Terraform on Windows and configure it to work with an AWS free tier. We will use VSCode to write and execute the Terraform files. Terraform uses a declarative language to implement infrastructure components using API calls. Terraform is an open source tool created by HashiCorp that allows you to define infrastructure as code using simple code.
Terraform is used to deploy and manage that infrastructure across a variety of public cloud providers like AWS, Azure, Google Cloud Platform, DigitalOcean and private cloud and virtualization platforms like OpenStack and VMware, using a few commands.
In a nutshell, instead of manually clicking around a web page or running dozens of commands, here is all the code it takes to configure a server on AWS:
provider "aws" { region = "us-east-1" }
 resource "aws_instance" "example" { ami = "ami-0fb653ca2d3203ac1" instance_type = "t2.micro" }
And to deploy it, you just run the following:
$ terraform init
 $ terraform apply
The first step is to download the terraform zip file from here. Versions are available for MacOS, Linux, and Windows. Unzip the file.
Create folders on your machine called C:\terraform, C:\terraformprojects and C:\terraformprojects\project1. Put the unzipped terraform file in the C:\terraform directory.
Add C:\terraform to your PATH environmental variable. This Stack Overflow article contains instructions for setting the PATH on Windows through the user interface.
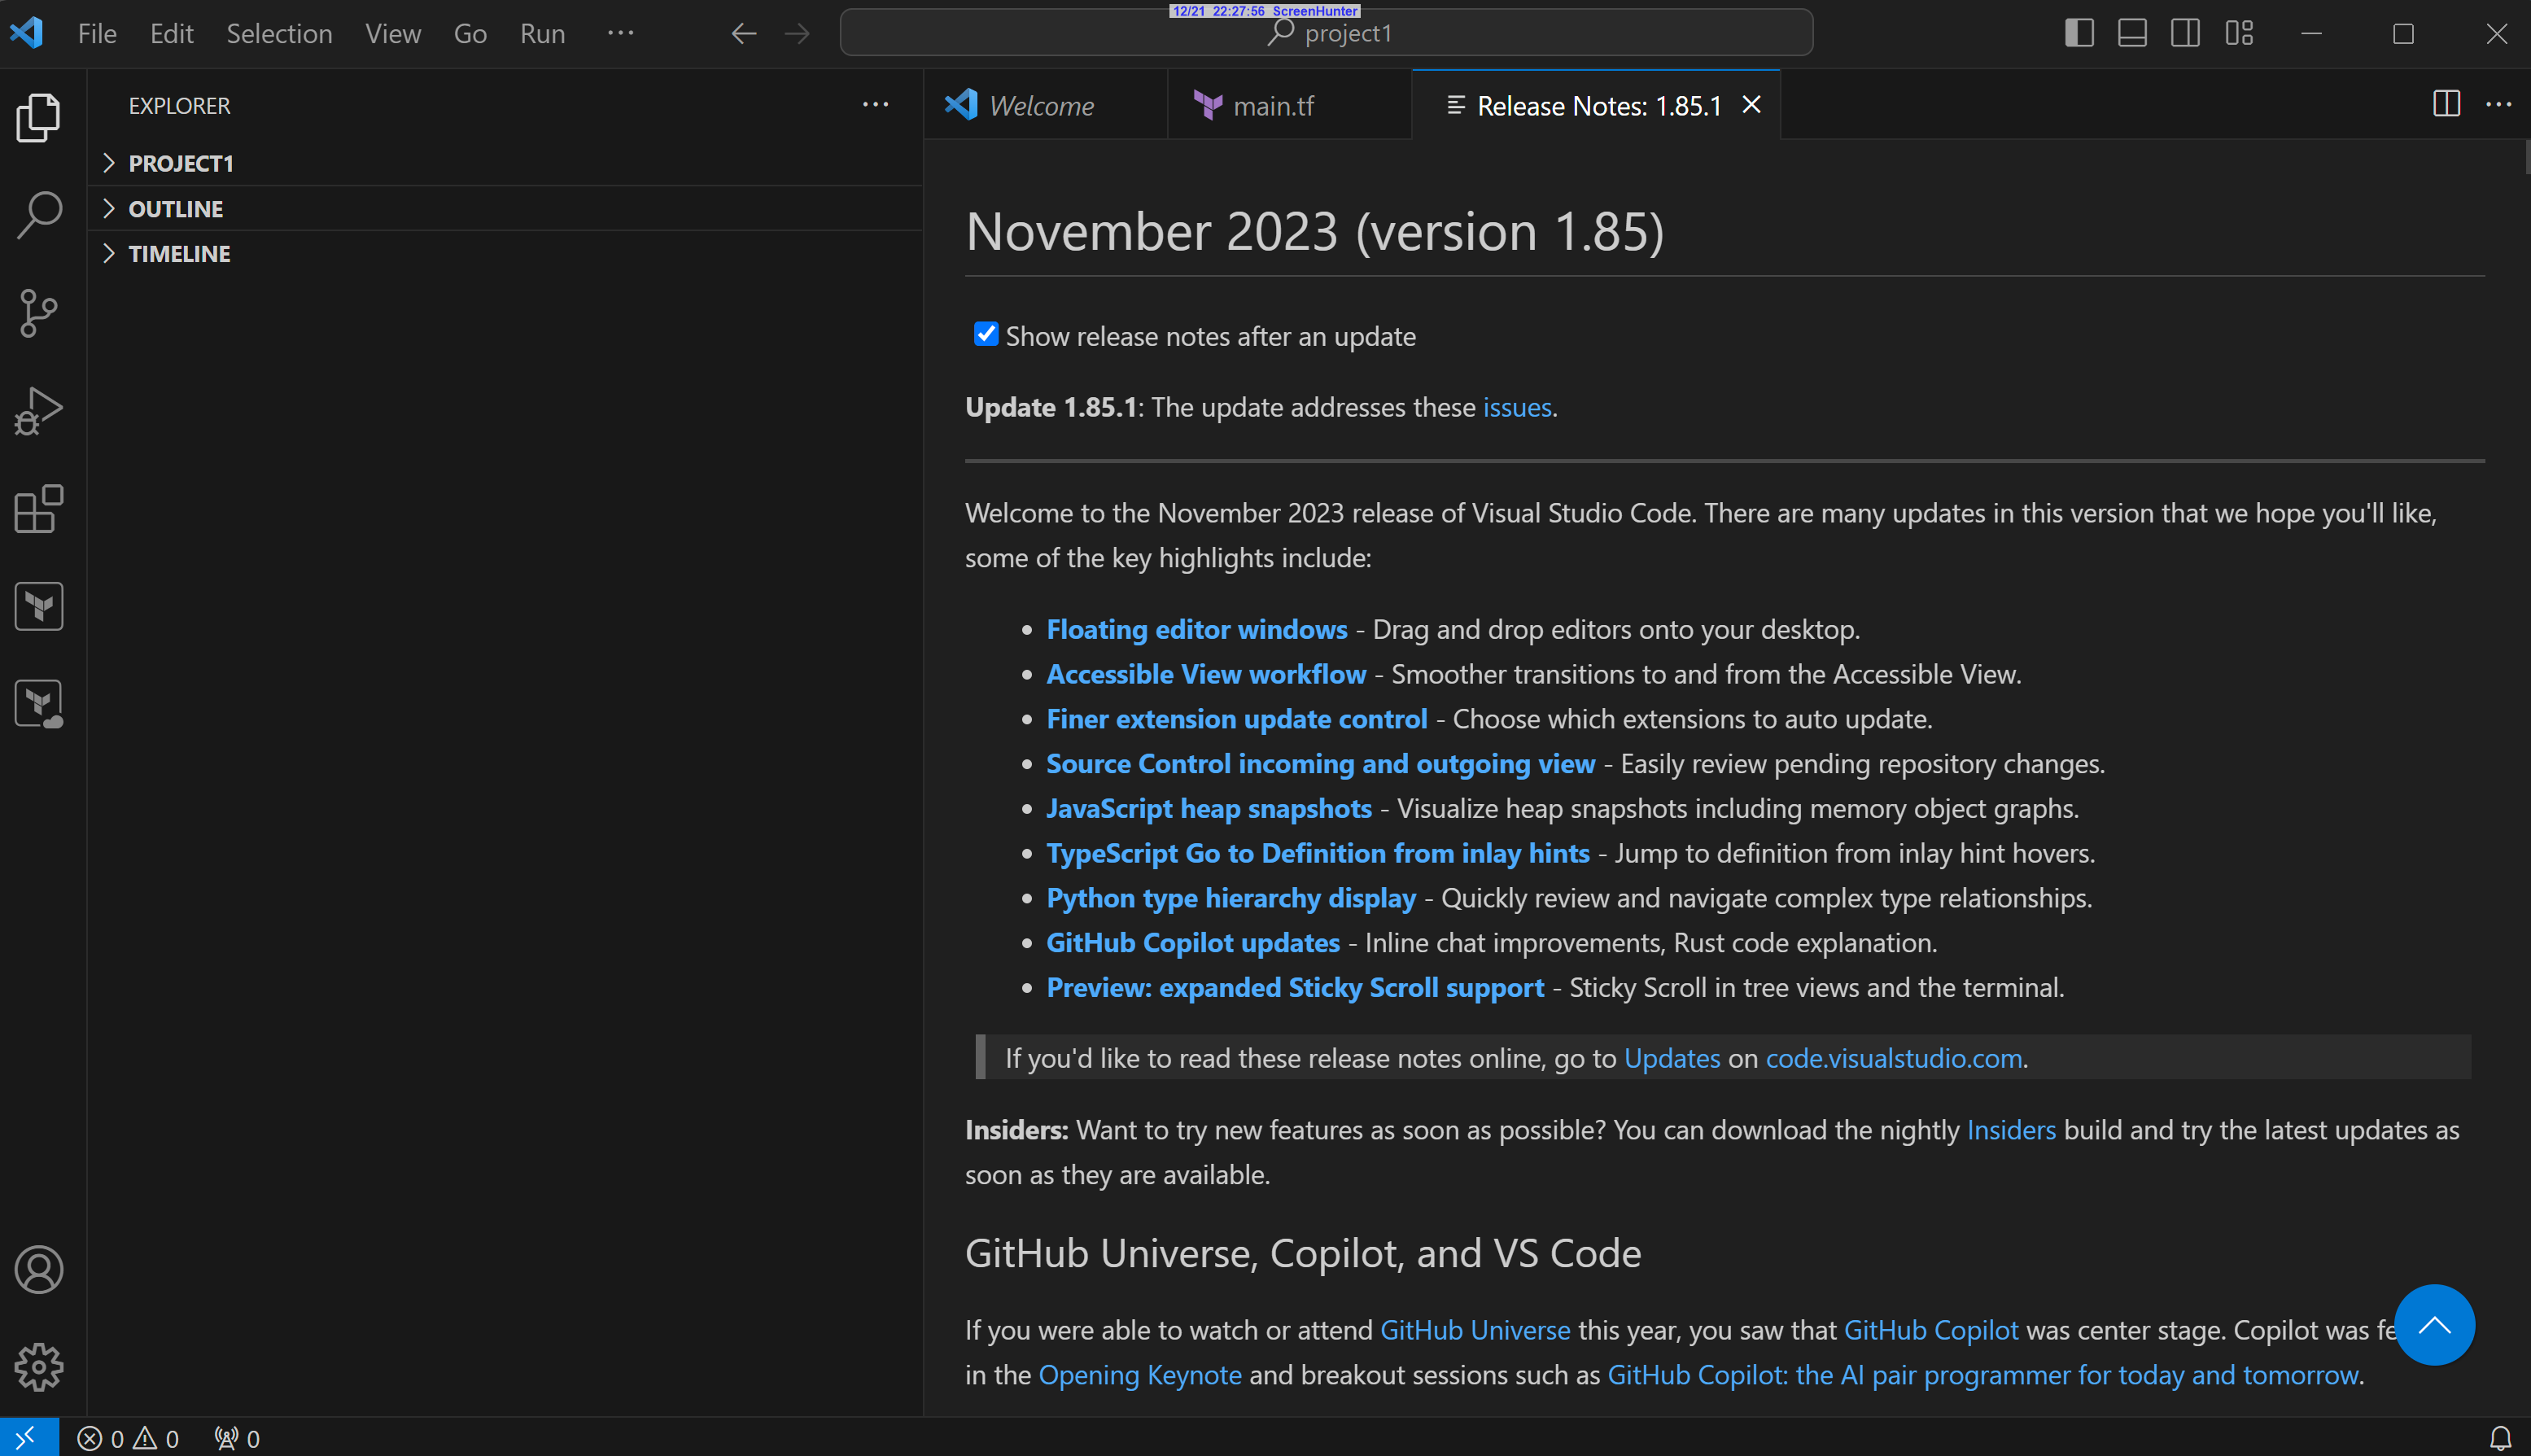
Download VSCode from here and install. Run VSCode and select File->Open Folder and choose C:\terraformprojects\project1. VSCode should look something like this:
Install the following VSCode extensions...
| HashiCorp Terraform | Terraform Advanced Syntax Highlighting | Terraform Autocomplete | Terraform Format on Save |
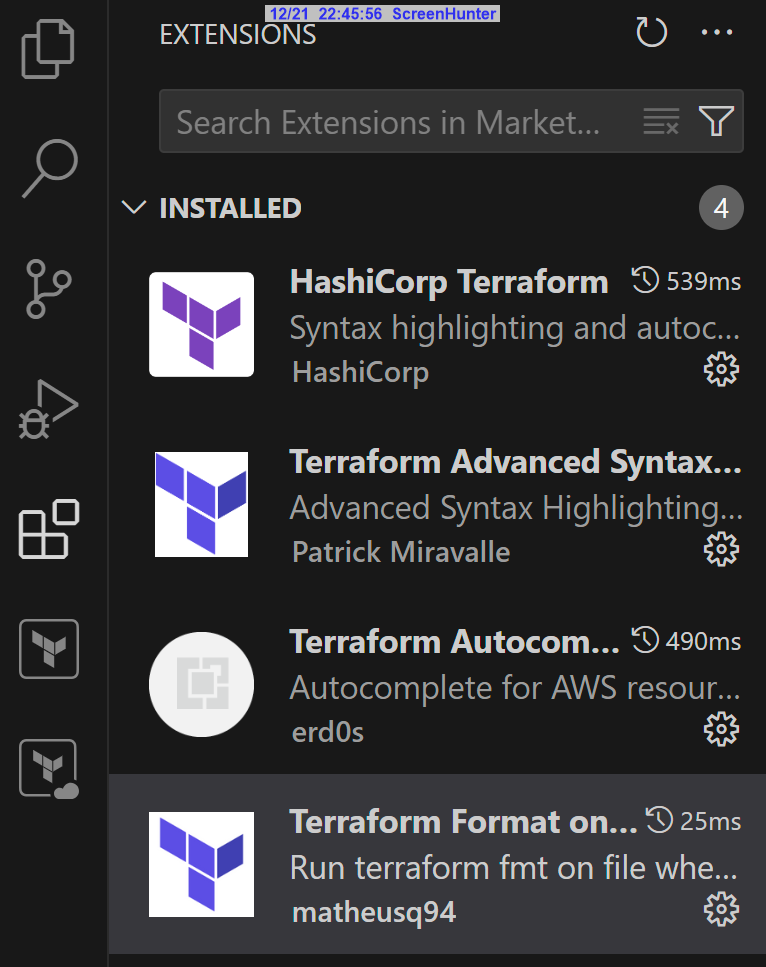 These extensions enable VSCode to recognize Terraform syntax, highlight it, and provide autocomplete functionality. Another helpful extension automatically runs 'terraform fmt' on files being saved. TFS is an extension that will format your terraform code when you save your .tf files.
The next step is to verify the Terraform installation. In VSCode select View->Terminal
In the lower right the terminal command line will appear. It should show you are in the C:\terraformprojects\project1 directory. Run the command
terraform -version

At this point VSCode and Terraform should be working correctly together. The next step is to prepare the AWS free tier account for API calls from Terraform. Sign in to your AWS Console as Root. In the upper right, click on your username. In the dropdown menu select Security Credentials. Go down to Access Keys and click Create Access Key. Save both the Access Key and Secret Access Key in a safe place. In VSCode create a new file called main.tf. Add the following code and run terraform init.
PS C:\terraformprojects\project1> terraform init
Initializing the backend...
Initializing provider plugins...
- Reusing previous version of hashicorp/aws from the dependency lock file
- Using previously-installed hashicorp/aws v5.30.0
Terraform has been successfully initialized!
You may now begin working with Terraform. Try running "terraform plan" to see
any changes that are required for your infrastructure. All Terraform commands
should now work.
If you ever set or change modules or backend configuration for Terraform,
rerun this command to reinitialize your working directory. If you forget, other
commands will detect it and remind you to do so if necessary.
PS C:\terraformprojects\project1>
This code will add a t2.micro EC2 instance.
PS C:\terraformprojects\project1> terraform plan
                                                                Terraform used the selected providers to generate the following execution plan. Resource actions are indicated with the following symbols:
                                                                  + create
                                                                Terraform will perform the following actions:
                                                                  # aws_instance.my-first-server will be created
                                                                  + resource "aws_instance" "my-first-server" {
                                                                      + ami                                  = "ami-0fc5d935ebf8bc3bc"
                                                                ...
                                                                      + get_password_data                    = false
                                                                ...
                                                                      + instance_type                        = "t2.micro"
                                                                ...
                                                                      + source_dest_check                    = true
                                                                ...
                                                                      + user_data_replace_on_change          = false
                                                                      + vpc_security_group_ids               = (known after apply)
                                                                    }
                                                                Plan: 1 to add, 0 to change, 0 to destroy.
We first run terraform plan to get a test run and see changes. Then we run terraform apply to execute the script.
PS C:\terraformprojects\project1> terraform apply
Terraform used the selected providers to generate the following execution plan. Resource actions are indicated with
the following symbols:
  + create
Terraform will perform the following actions:
  # aws_instance.my-first-server will be created
  + resource "aws_instance" "my-first-server" {
      + ami                                  = "ami-0fc5d935ebf8bc3bc"
...
      + get_password_data                    = false
...
      + instance_type                        = "t2.micro"
...
      + source_dest_check                    = true
...
      + user_data_replace_on_change          = false
    }
Plan: 1 to add, 0 to change, 0 to destroy.
Do you want to perform these actions?
  Terraform will perform the actions described above.
  Only 'yes' will be accepted to approve.
  Enter a value: yes
aws_instance.my-first-server: Creating...
aws_instance.my-first-server: Still creating... [10s elapsed]
aws_instance.my-first-server: Still creating... [20s elapsed]
aws_instance.my-first-server: Creation complete after 23s [id=i-08f3f410fa209231e]
Apply complete! Resources: 1 added, 0 changed, 0 destroyed.
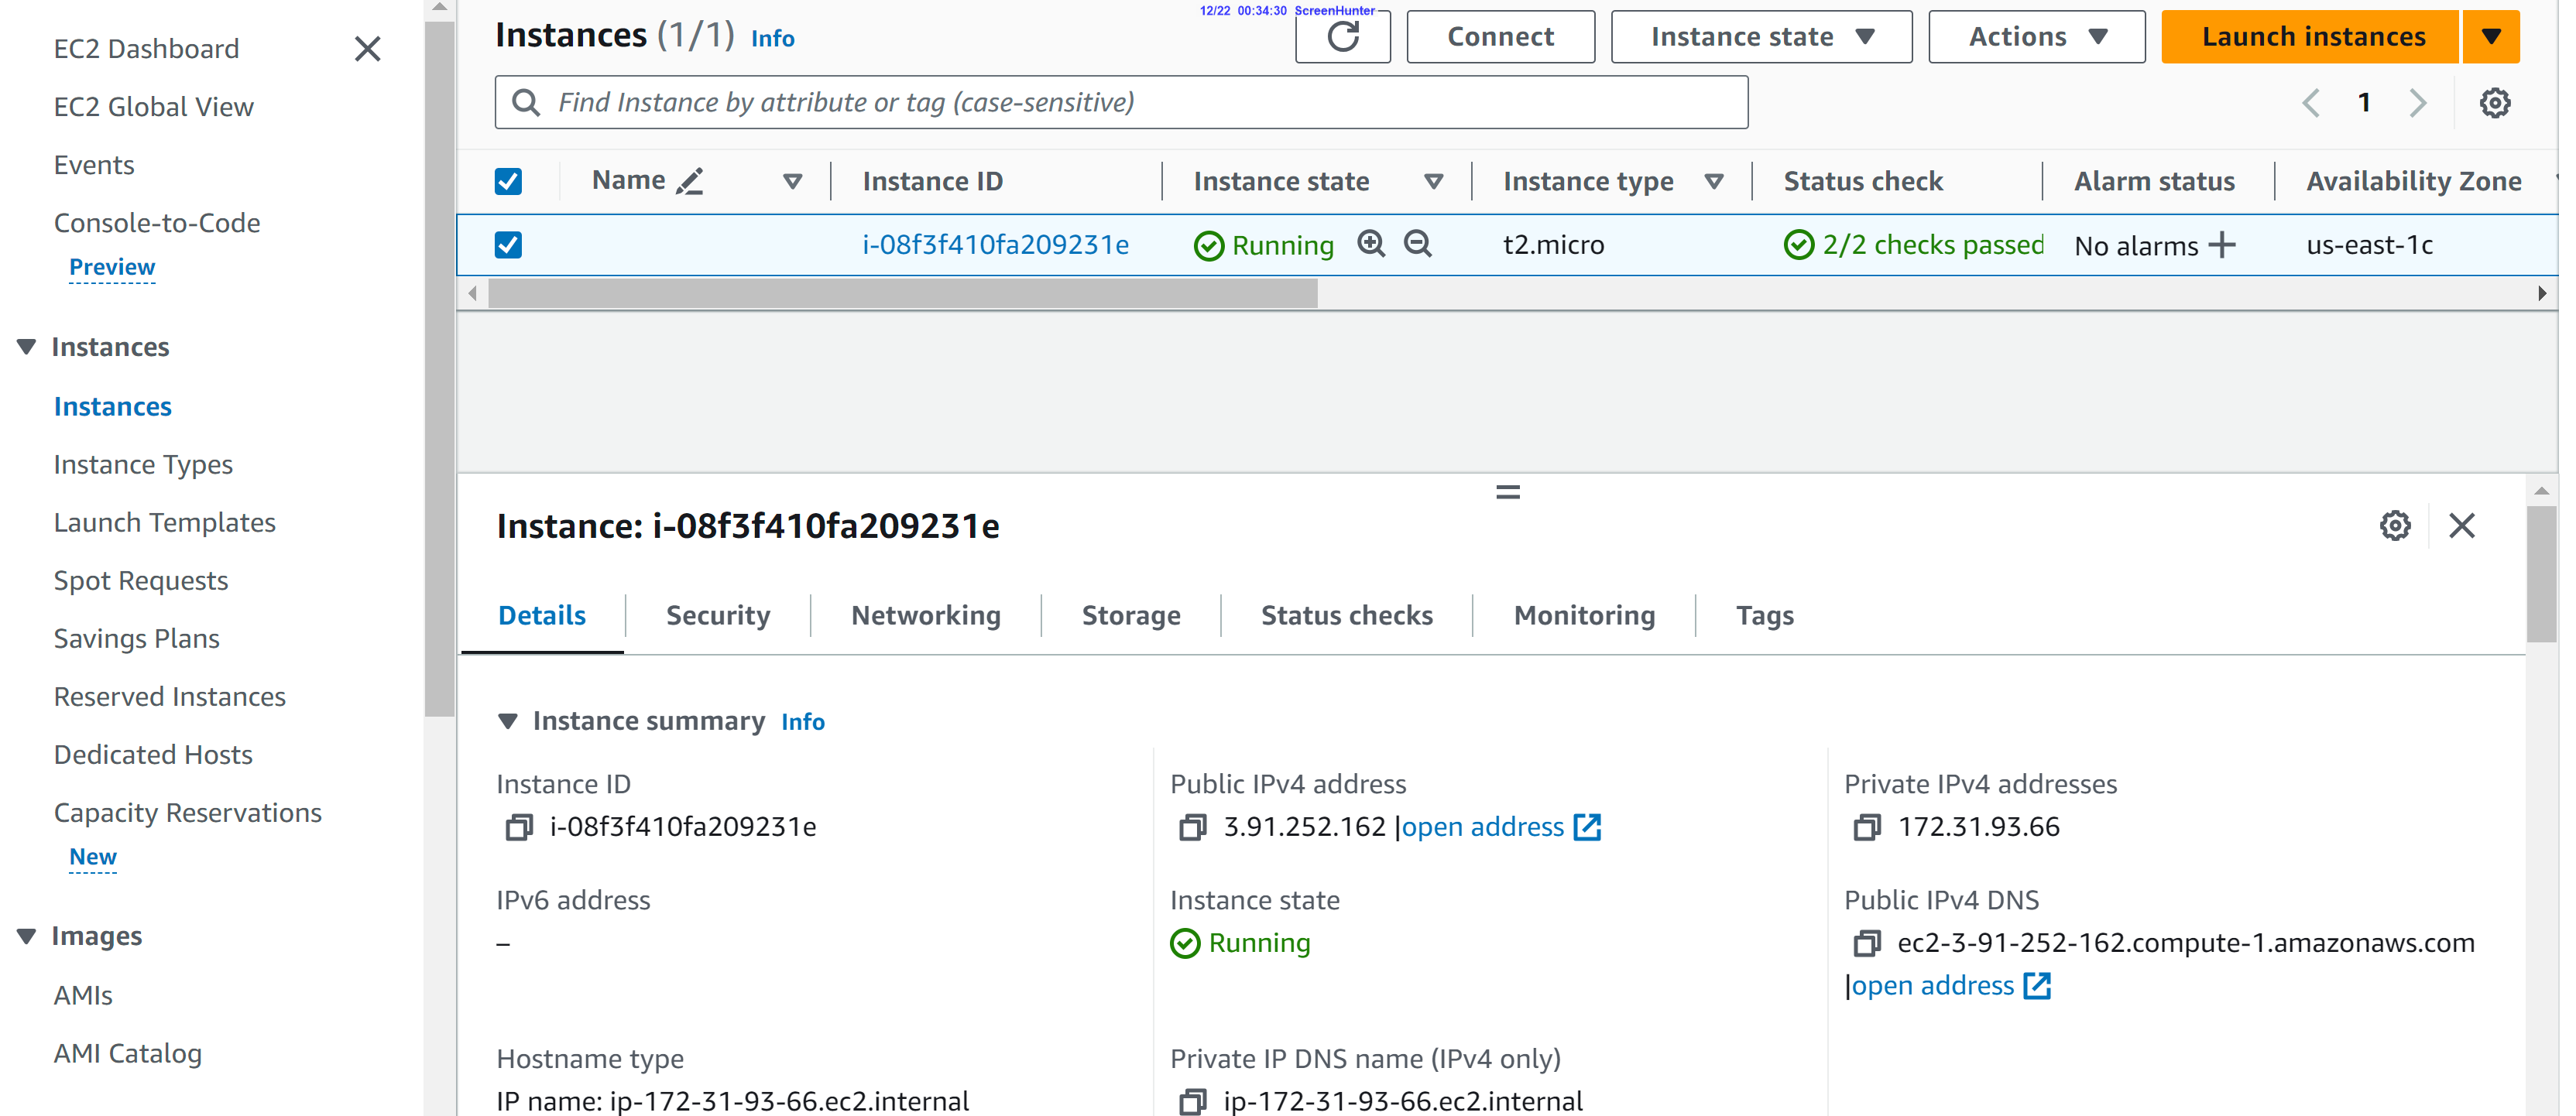
When we check the AWS Console you should see something similar to this..
A shortcut in VSCode for using Edit->Toggle Block Comment, that is to highlight the code and press Shift-Alt-A. Comment out the server instance, save the file and then run terraform plan...
PS C:\terraformprojects\project1> terraform plan
aws_instance.my-first-server: Refreshing state... [id=i-08f3f410fa209231e]
Terraform used the selected providers to generate the following execution plan. Resource actions are indicated with
the following symbols:
- destroy
Terraform will perform the following actions:
# aws_instance.my-first-server will be destroyed
# (because aws_instance.my-first-server is not in configuration)
- resource "aws_instance" "my-first-server" {
- ami = "ami-0fc5d935ebf8bc3bc" -> null
- arn = "arn:aws:ec2:us-east-1:265440938056:instance/i-08f3f410fa209231e" -> null
- associate_public_ip_address = true -> null
- availability_zone = "us-east-1c" -> null
- cpu_core_count = 1 -> null
- cpu_threads_per_core = 1 -> null
- disable_api_stop = false -> null
- disable_api_termination = false -> null
- ebs_optimized = false -> null
- get_password_data = false -> null
- hibernation = false -> null
- id = "i-08f3f410fa209231e" -> null
- instance_initiated_shutdown_behavior = "stop" -> null
- instance_state = "running" -> null
- instance_type = "t2.micro" -> null
- ipv6_address_count = 0 -> null
- ipv6_addresses = [] -> null
- monitoring = false -> null
- placement_partition_number = 0 -> null
- primary_network_interface_id = "eni-05613b703c6c5b4b8" -> null
- private_dns = "ip-172-31-93-66.ec2.internal" -> null
- private_ip = "172.31.93.66" -> null
- public_dns = "ec2-3-91-252-162.compute-1.amazonaws.com" -> null
- public_ip = "3.91.252.162" -> null
- secondary_private_ips = [] -> null
- security_groups = [
- "default",
] -> null
- source_dest_check = true -> null
- subnet_id = "subnet-083a381e0a9ac46b9" -> null
- tags = {} -> null
- tags_all = {} -> null
- tenancy = "default" -> null
- user_data_replace_on_change = false -> null
- vpc_security_group_ids = [
- "sg-0936bcd258f70dc65",
] -> null
- capacity_reservation_specification {
- capacity_reservation_preference = "open" -> null
}
- cpu_options {
- core_count = 1 -> null
- threads_per_core = 1 -> null
}
- credit_specification {
- cpu_credits = "standard" -> null
}
- enclave_options {
- enabled = false -> null
}
- maintenance_options {
- auto_recovery = "default" -> null
}
- metadata_options {
- http_endpoint = "enabled" -> null
- http_protocol_ipv6 = "disabled" -> null
- http_put_response_hop_limit = 1 -> null
- http_tokens = "optional" -> null
- instance_metadata_tags = "disabled" -> null
}
- private_dns_name_options {
- enable_resource_name_dns_a_record = false -> null
- enable_resource_name_dns_aaaa_record = false -> null
- hostname_type = "ip-name" -> null
}
- root_block_device {
- delete_on_termination = true -> null
- device_name = "/dev/sda1" -> null
- encrypted = false -> null
- iops = 100 -> null
- tags = {} -> null
- throughput = 0 -> null
- volume_id = "vol-0a62c1fba56ae2a59" -> null
- volume_size = 8 -> null
- volume_type = "gp2" -> null
}
}
Plan: 0 to add, 0 to change, 1 to destroy.
─────────────────────────────────────────────────────────────────────────────────────────────────────────────────────
Note: You didn't use the -out option to save this plan, so Terraform can't guarantee to take exactly these actions if
you run "terraform apply" now.
PS C:\terraformprojects\project1>
Why does Terraform want to delete the server instance? Because it is a declarative language. Terraform will use the current main.tf and plan to make the AWS environment match. So, if nothing is declared in the code, Terraform will delete whatever is there. If we un-comment the server code and save (Shift-Alt-A, Cntl-S) then run terraform plan, it reports no changes.
PS C:\terraformprojects\project1> terraform plan
aws_instance.my-first-server: Refreshing state... [id=i-08f3f410fa209231e]
No changes. Your infrastructure matches the configuration.
Terraform has compared your real infrastructure against your configuration and found no differences, so no changes
are needed.
PS C:\terraformprojects\project1>
Now we will add new VPC code to main.tf
PS C:\terraformprojects\project1> terraform apply
aws_instance.my-first-server: Refreshing state... [id=i-08f3f410fa209231e]
Terraform used the selected providers to generate the following execution plan. Resource actions are indicated with
the following symbols:
 + create
Terraform will perform the following actions:
 # aws_vpc.first-vpc will be created
 + resource "aws_vpc" "first-vpc" {
     + arn                                  = (known after apply)
     + cidr_block                           = "10.0.0.0/16"
...
     + enable_dns_support                   = true
...
     + instance_tenancy                     = "default"
...
     + tags                                 = {
         + "Name" = "production"
       }
     + tags_all                             = {
         + "Name" = "production"
       }
   }
Plan: 1 to add, 0 to change, 0 to destroy.
Do you want to perform these actions?
 Terraform will perform the actions described above.
 Only 'yes' will be accepted to approve.
 Enter a value: yes
aws_vpc.first-vpc: Creating...
aws_vpc.first-vpc: Creation complete after 2s [id=vpc-0bc6a5799bf39a7d6]
Apply complete! Resources: 1 added, 0 changed, 0 destroyed.
PS C:\terraformprojects\project1>
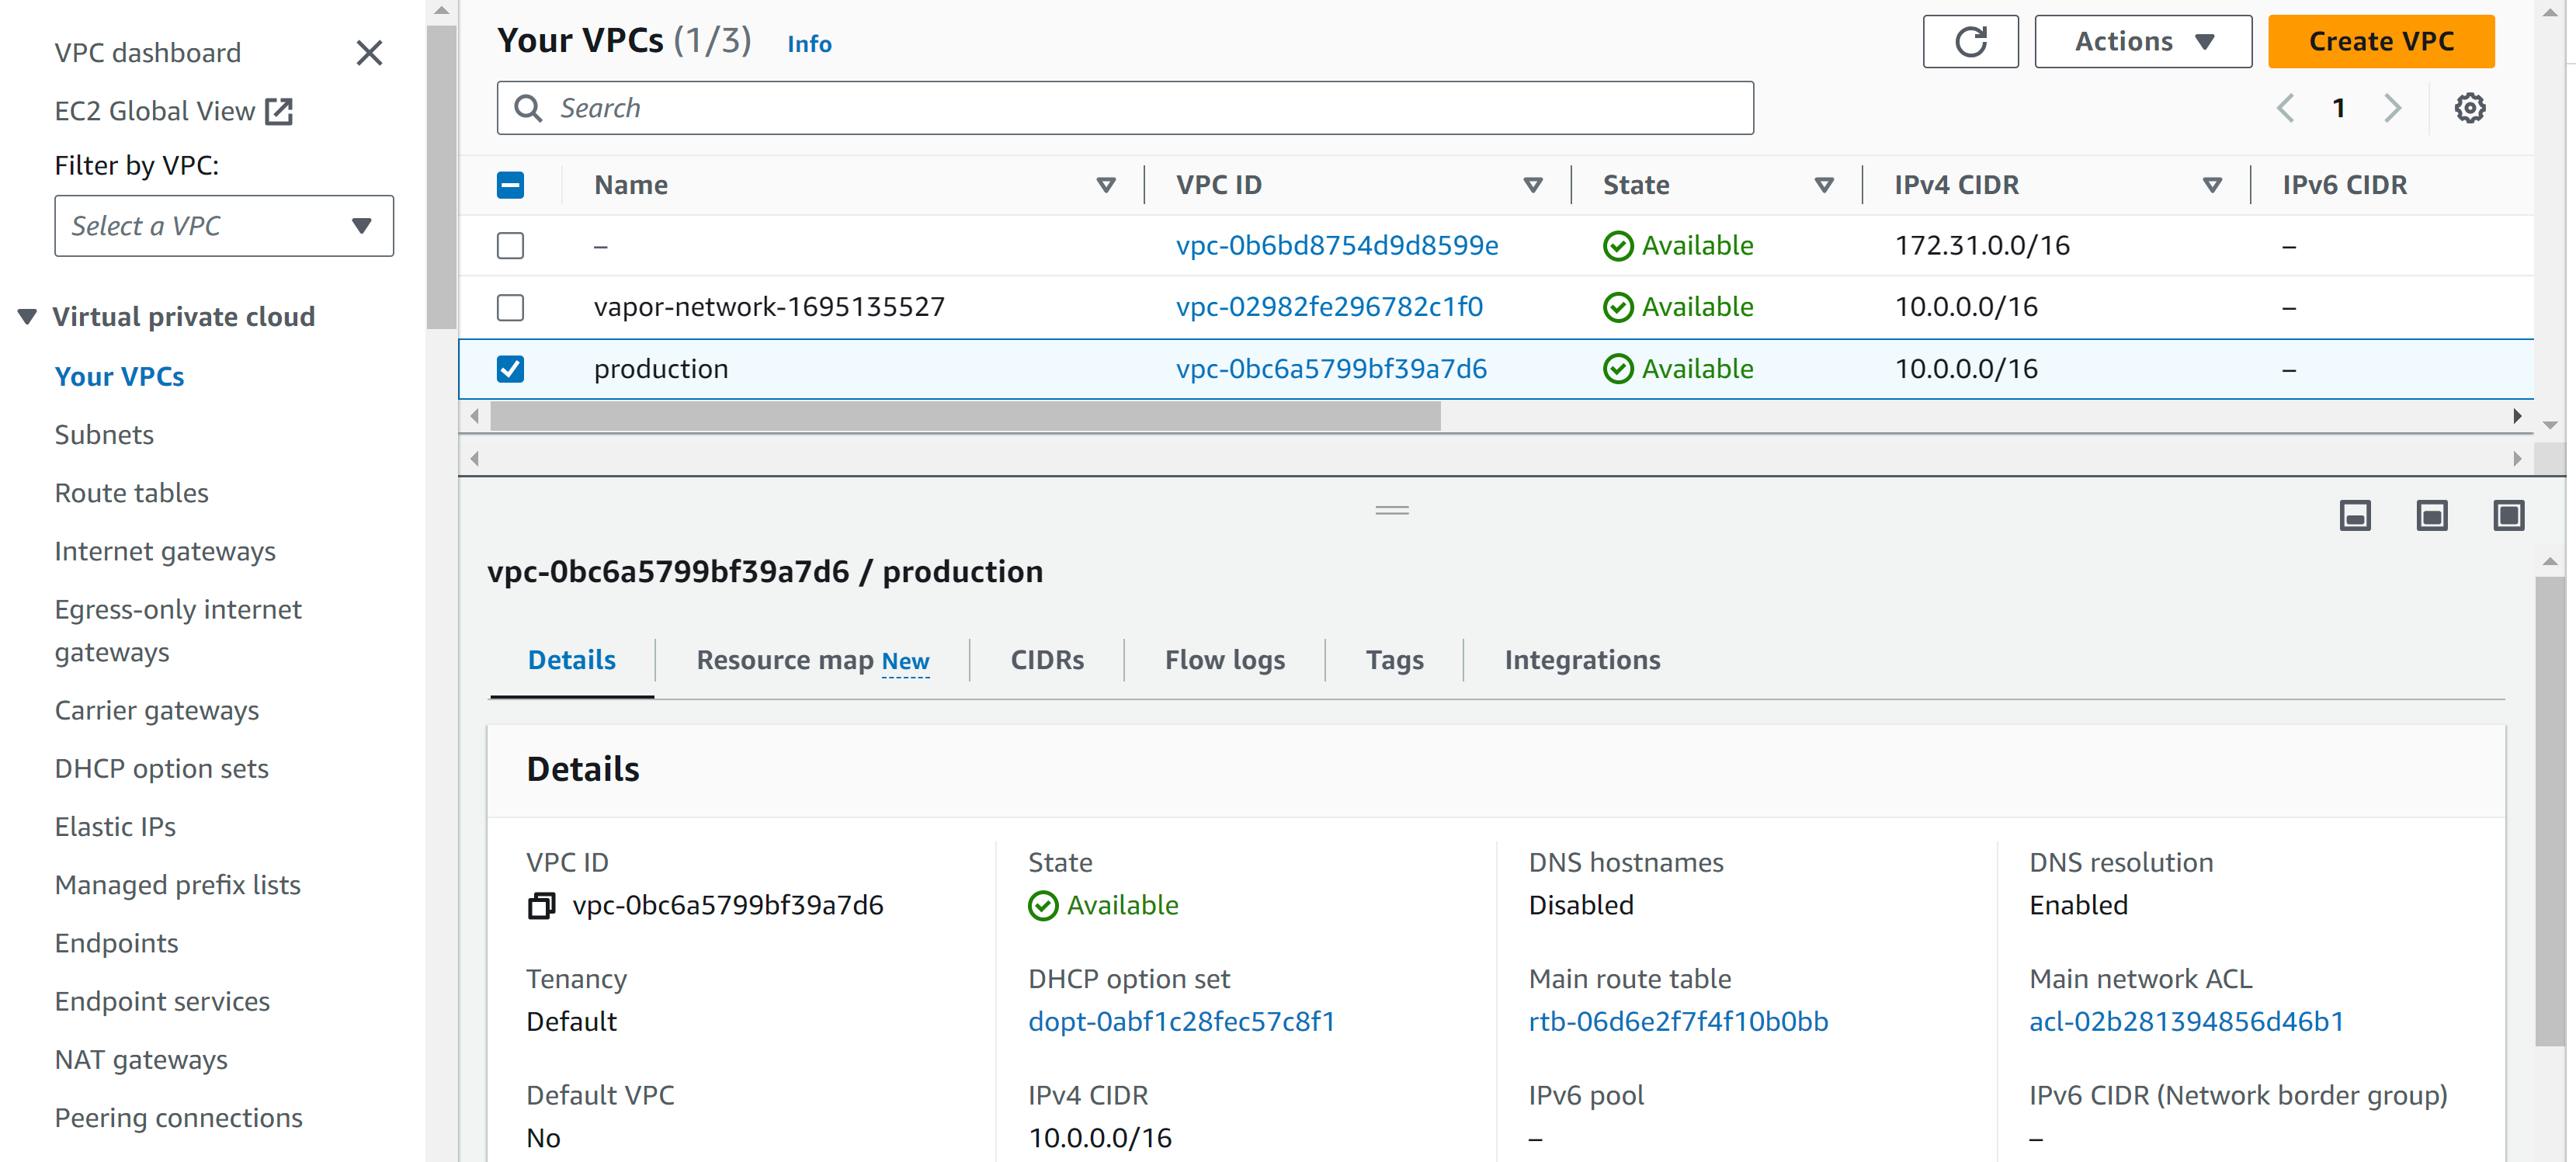
The new VPC can be seen on the AWS VPC Dashboard...
We will now add a new subnet for a 10.0.1.0/24 private subnet with the following terraform code in main.cf. Notice the reference to the VPC ID that was just created.
We will then run terraform plan and then terraform apply.
aws_subnet.subnet-1: Creating...
aws_subnet.subnet-1: Creation complete after 1s [id=subnet-0e21b3332760a1ad2]
Apply complete! Resources: 1 added, 0 changed, 0 destroyed.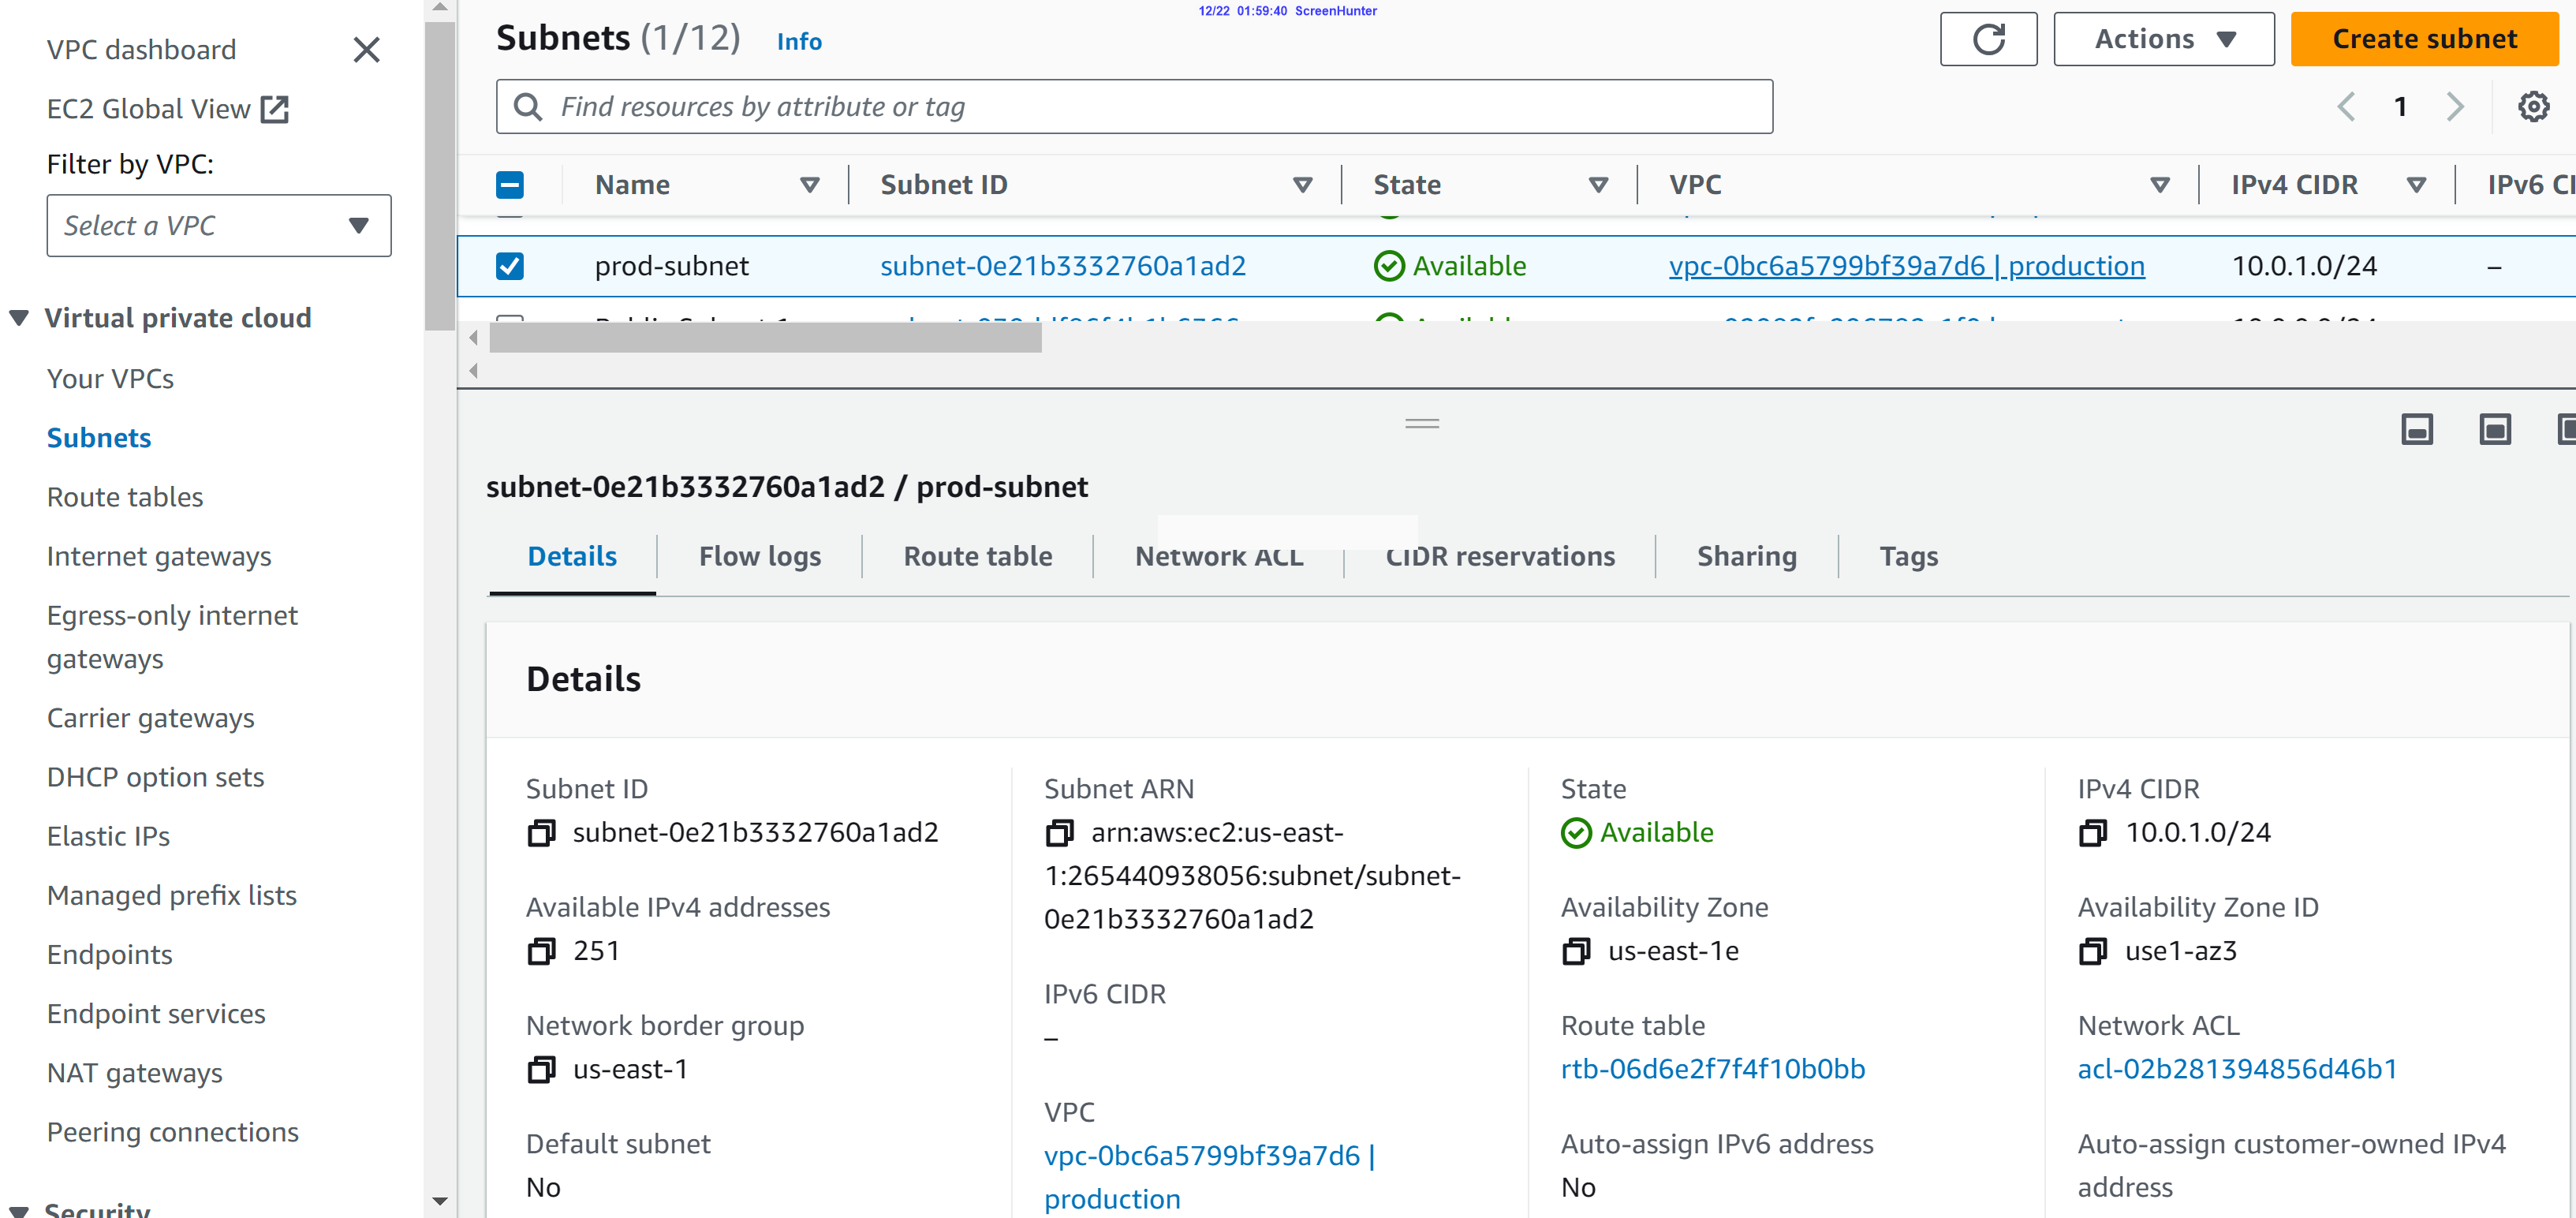
At the end of the day I comment out all resources and save (Shift-Alt-A, Cntl-S) main.tf and then run terraform apply. This will remove all resources and will not incur any costs by leaving them running.
new
